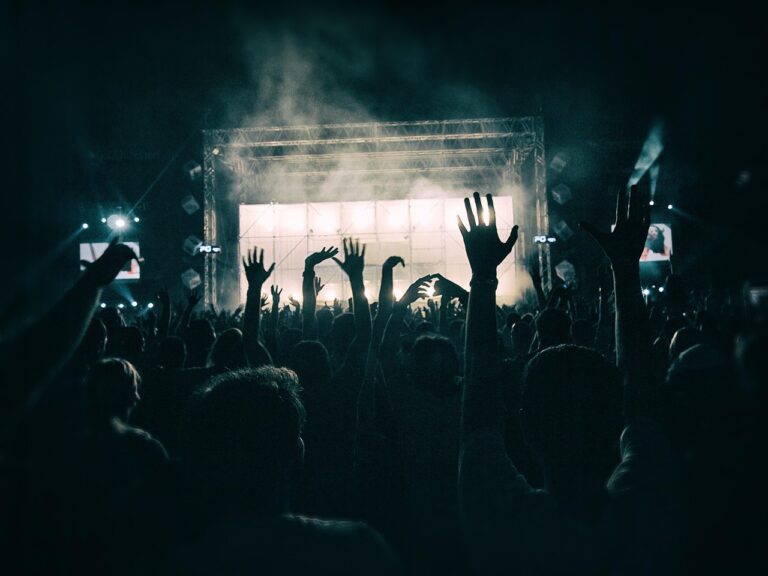
Good stage lighting is less about expensive gear and more about decisions: two 45-degree front lights that reveal faces, a backlight that separates bodies from scenery, a color strategy that keeps skin tones honest. Add the physics illumination drops with the square of distance and your plan becomes predictable instead of guesswork.
You’re here to learn how to light a stage that looks intentional, reads clearly from the back row, and holds up on camera. Below is a practical blueprint with specific angles, illuminance targets, fixture choices, and programming tips you can scale from a 100-seat black box to a 1,000-seat auditorium.
Define Objectives And Constraints
Start with what the audience must see. Spoken-word plays prioritize intelligible faces; aim for roughly 300–600 lux on faces across the acting area so expressions read at 20–30 meters. Musicals tolerate higher levels 600–1000 lux to cut through brighter costumes and scenery. If you’re streaming or filming, expect 1000–1500 lux with flatter contrast (2:1 to 3:1 key-to-fill) so cameras expose skin without clipping costumes; these numbers vary with camera sensitivity, so test if possible.
Map the room: stage width/depth, trim heights, and front-of-house throw distances. A common proscenium might be 12 m wide by 8 m deep with a 7 m trim; FOH catwalk at 12–20 m throw. For face-revealing key light, aim for 30–60 degrees vertical angle from the actor’s eye line (45 degrees is a solid target) and 30–60 degrees horizontally off-center. Flatter than 30 degrees causes glare and raccoon-eye shadows; steeper than 60 degrees caves the eyes and noses.
Check power and control. Tungsten ERS or Fresnels draw 575–2000 W each and require dimmer channels; LED profiles/washes typically draw 100–500 W and run on constant power plus DMX. On 120 V, a 20 A circuit safely supplies up to about 1.9 kW at 80% load; on 230 V, a 16 A circuit supplies roughly 3 kW. Count circuits and dimmer channels before promising a rig. For control, one DMX512 universe carries 512 channels; moving heads can consume 20–40 channels each in extended mode, so plan universes early.
Rigging limits matter. Check batten or truss ratings and keep a minimum safety factor (5:1 is a typical design goal in entertainment rigging). Use rated clamps and safety cables on every unit. Plan cable paths to avoid counterweight pulleys, curtains, and hot exhausts. A space with a 250 kg per-batten limit will not tolerate a dense array of heavy moving fixtures; trade some moving heads for lightweight LED pars or concentrate weight over structural points.
Build A Lighting Plan
Divide the stage into zones to guarantee even coverage. A simple grid is three zones across by two deep for modest plays; larger stages often use four across by three deep. Give each zone two front keys from left and right at roughly 45 degrees horizontally and vertically. This ensures faces are modeled rather than flattened and reduces shadows when actors turn. For each zone, calculate beam size using beam angle and throw: beam diameter ≈ 2 × throw × tan(beam angle ÷ 2). At a 12 m throw with a 26-degree lens, the beam is about 5.6 m wide; at 19 degrees, about 4.1 m. Choose lenses that slightly overlap adjacent zones to avoid dark seams.
Stanley McCandless popularized the two-light, 45-degree approach in 1932; his method still anchors modern front light because it models facial features and gives directional clarity without heavy contrast.
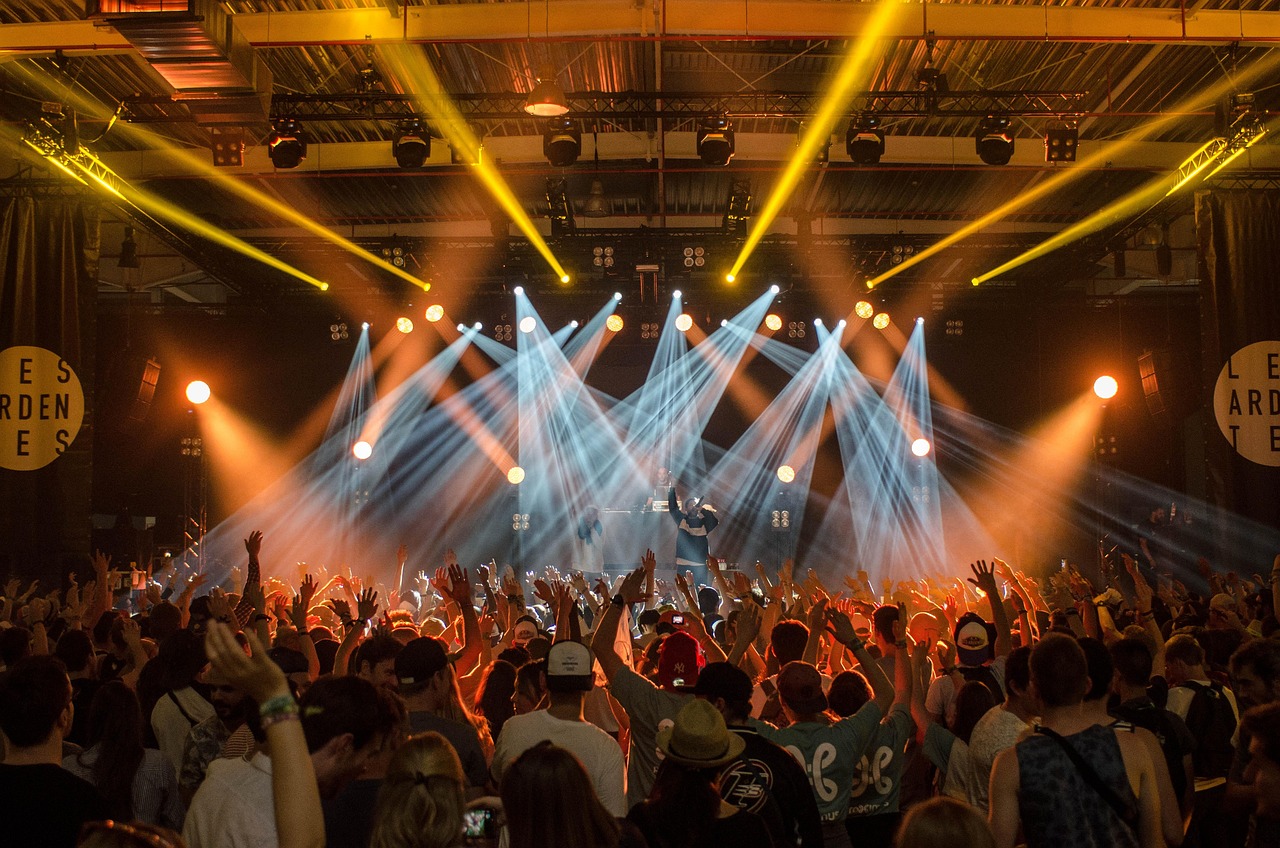
Add separation and contour. A backlight system at a steep angle (120–150 degrees from audience) sets a rim on shoulders and hair so bodies pop off scenery. A toplight wash fills the stage floor and costumes; use soft fixtures (Fresnels, soft panels) to avoid hard circles. For dance, add low sidelight from booms at 60–90 degrees to carve muscles and legs; place booms upstage, midstage, and downstage to cover travel patterns. If older faces or hats create eye sockets, add subtle footlight or a low front fill at 20–25 degrees, but keep it dim to avoid flattening.
Pick the right tools for the job. Ellipsoidal reflector spotlights (ERS/profile units) give shutters for proscenium cuts and crisp gobos; they excel at front light and specials. Fresnels provide soft, variable-edge washes for toplight and general color; PARs offer punchy beams for color washes and backlight. Moving heads are flexible but heavier, louder, and channel-hungry; use them when the show truly needs repositionable specials or beam effects. For LEDs, prioritize color rendering index (CRI) above 90 and, if filming, Television Lighting Consistency Index (TLCI) above 85 to keep skin tones credible. Confirm flicker-free performance (high-frequency PWM or DC dimming) to avoid strobing on camera.
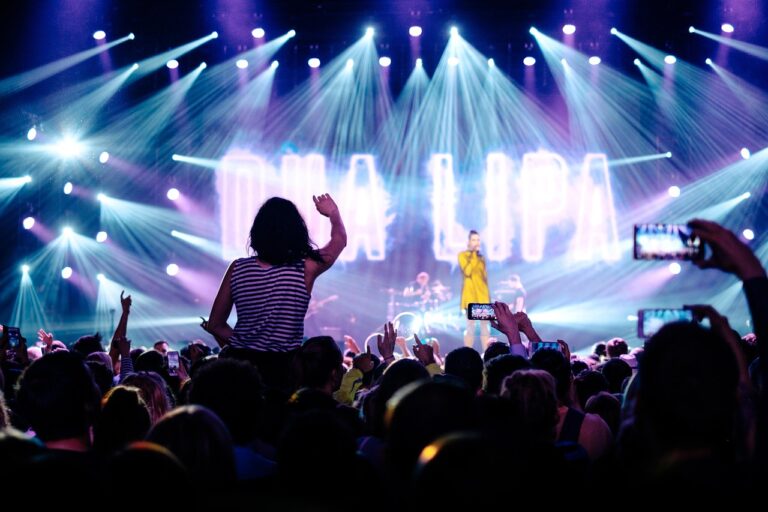
Plan color deliberately. A classic warm/cool front pair keeps faces alive under different scenes: one system at ~3000–3300 K and the cross at ~5000–5600 K (or equivalent gels). Use cooler or saturated backlight to separate and set mood without contaminating faces. For theatre, keep front gels subtle (e.g., pale straw or light rose); for concerts, push saturated backlights and keep front light neutral for camera. Tungsten warms as it dims good for romance, bad for color accuracy so adjust cue levels or add correction. LEDs maintain color at low levels but can shift hue between units; calibrate to a common white point before tech.
Execute: Rig, Address, Focus, Balance
Rig safely and label everything. Hang fixtures with clamps torqued appropriately, add independent safety cables, and dress cables with strain relief. Keep loads balanced per electrics and respect the 80% rule on electrical circuits. Allocate DMX universes and addresses on paper before cabling; group fixtures by type and location to keep programming tidy. Choose sensible modes (8-bit vs 16-bit pan/tilt, reduced channel sets for simple rigs) so you don’t exhaust universe capacity without a benefit.
Run an efficient focus call. Bring up one system at a time at full or working level. For front light, hard edge to the actor’s downstage edge, soften slightly to blend between zones, and shutter off proscenium, cyc, and audience sightlines. Focus to real marks: a mic stand, a taped X, or a chair that represents stage action. For back and top systems, aim to produce even, slightly overlapping circles that merge into a uniform wash; avoid placing bright cones on the main acting area unless intentional.
Measure and balance levels. Use a lux meter to hit targets: set key light, then add fill and backlight to taste. For dialogue-driven plays, a common starting ratio is roughly 1:0.5:0.7 (key:fill:back). For pop concerts, push backlight to match or exceed key for energy (1:0.3:1–1.5), and allow deeper shadows on faces. Keep the cyc/scrim at a separate, controllable system; 100–300 lux is often enough for visible color without overpowering performers. If you lack a meter, a calibrated camera or even phone exposure with fixed ISO/shutter can help compare zones; aim for less than ±10% variation across the main acting area.
Program for dynamics and consistency. Build base looks for each scene: one for dialogue, one for transitions, one for musical numbers. Leave headroom don’t run everything at 100% so you can push accents without clipping. Time fade-ups to match pace: 2–5 s for gentle scene shifts, 0.5–1 s for musical bumps, essentially zero for stabs. On camera, hold ratios steady; avoid rapid color temperature shifts that break white balance. If your desk supports tracking, store changes as updates to systems rather than snapshotting every fader, which keeps the show consistent as you tweak.
Troubleshoot And Refine
Fix what the audience actually sees. Raccoon eyes mean your front light is too steep or too dim relative to backlight; lower the vertical angle if possible or add a low-angled fill at 10–20% of key. Double shadows come from mismatched heights or overly separated front systems; bring the pair closer to 45 degrees each. Hot spots indicate the beam is too narrow for the throw; switch to a wider lens or add light diffusion and refocus. Spill on the cyc or audience breaks immersion; close shutters, use top hats, or slightly toe-in fixtures.
Unify color and white balance. If LEDs from different batches disagree, create a reference white (e.g., 3200 K), then gel or tune others to match by eye and meter. For cameras, set a manual white balance on a neutral card under your show’s base look; avoid auto-white-balance that drifts when colors change. Deep saturates can kill skin tones; keep front face light within ±200 K of your chosen white point, and push color into back/side systems instead.
Eliminate flicker and noise. Flicker shows up when LED PWM frequency interacts with camera shutter; pick fixtures with high-frequency PWM (often >2 kHz) or DC dimming, and avoid running at 1–5% where PWM artifacts are most visible. If you hear fan noise in quiet scenes, move loud fixtures away from mics, reduce output to trigger lower fan profiles, or swap noisy units in key positions for passive-cooled lights.
Use atmosphere intelligently. Haze reveals beams and adds depth; light consumption is low, but building detectors may react. Water-based haze disperses faster and leaves less residue; oil-based hangs longer but can trigger alarms and coat surfaces. Start with minimal output and a quiet fan speed; aim to see beams at the back of the house without clouding faces. Verify with the venue that haze is permitted and coordinate with HVAC so it doesn’t vent instantly.
Conclusion
To light a stage well, pick your targets (lux and ratios), plan angles and coverage, choose fixtures that serve the job, then measure, focus, and cue with restraint. If you’re stuck, default to a McCandless-style warm/cool front at 45 degrees, add neutral top and a cooler back rim, aim for 300–600 lux on faces for theatre (double for cameras), and keep colors off faces unless storytelling demands it; refine from there with a meter and the director’s notes.